Showing posts with label Recycling. Show all posts

Wednesday, December 12, 2012

Upcycled Hair Tie {a simple sewing project}

I recently bought a pair of too long organic cotton yoga pants.  And to make sure the extra length of organic fabric didn't go to waste I made some simple hair ties.  Here's how...

After removing the unwanted length from the pants, I cut that fabric into 1 inch thick strips.
I folded the strips on top of each other as seen above.
I sewed one side down, basic stitch {don't forget to back stitch!}
Above: after the first side was sewn
Slide over and repeat.
Above: Complete
Repeat as often as you have fabric for.

Happy Sewing!
Jenn


You can also follow along on Twitter, Pinterest, Facebook, and Tumblr!

p.s. if you have a moment, I'd really appreciate your vote. Click the banner below and then the owl on the left. {No email required and no spam generated! promise}
Click To Vote For Us @ the Top Baby Blogs Directory! The most popular baby blogs

Saturday, September 15, 2012

D.I.Y. Upcycled Crayons {in the form of Matryoshka dolls}


This week is my last week for projects for Sonja's Birthday {which is Russian themed}!  I can not believe my little girl is going to be two, although most of the time she acts like she's six... Anyway, I saw similar projects floating around on the internet and thought this would be a perfect use of my SILICONE Matryoshka ice cube tray {now, no longer used for food}.  I always collect broken and unwanted crayons and now I have a use for them!  A perfect place to collect such crayons is from restaurants' kids menus.  They usually get tossed if the kids don't take them home, which is a super waste.  The Crayola box below is not new, it was given to me since it wasn't getting any use.  This whole project {not including the electricity to heat the oven} cost me a whopping $0.00 since everything we used, was something I already had!

Are you ready to follow along? 
This project is also fun with toddlers because they like to break and sort the crayons!
First, peel the paper off any wrapped crayons.  I found an exacto blade works best to cut the paper if its sticking. Just be careful to cut away from your fingers holding the crayon {mine held the pointed tip, when I wasn't photographing the project}
As you can see the paper just falls off, as opposed to our previous ripping method.
Once all the crayons are peeled, break them into chunks and fill the mold with desired colors.

Baking Instructions:
Bake at 220* F for 15 minutes, then add additional crayons if there is any extra room in the mold, and bake for an additional 15 minute, if you do not need to add crayons then just bake for about 5-10 additional minutes, keeping an eye on them.

{my first set of crayons melted to about half way full. So, I had to refill them with the same amount to get a full cast of the mold} 


When they're soupy and melted remove from oven and allow to cool, placing them in the freezer is a great way to cool them off quickly!

As you can see in the image below, I used a mini baking sheet {from our toaster oven} to catch any of the over flowing wax, it made cleaning up a breeze.

Once cooled remove from the silicone mold and color away!

Above: the first completed batch of pink and red crayons.
Going to give them away to the kiddos at her birthday with some paper to color.
No waste, party favors!


Good Luck and Happy Upcycling!


You can also follow along on Twitter, Pinterest, Facebook, and Tumblr!

p.s. if you have a moment, I'd really appreciate your vote. Click the banner below and then the owl on the left. {No email required and no spam generated! promise}
Click To Vote For Us @ the Top Baby Blogs Directory! The most popular baby blogs

Tuesday, April 17, 2012

Hissyfits Hullabaloo

This weekend I headed over to the Hissyfit's Hullabaloo craft event.  I knew I wanted to pick up some soap from the Funk Off crew and I knew my mom would want to join me to pick up some handmade wearables for The Cupcake...
and as you can see {above} we had a pretty good time.
They had a little planter area for kiddos to plant some seeds and color which Miss Cupcake really enjoyed as well.

Here are all the AMAZING local businesses I found...
The Junior Mints dress at the top and this one above is from My Daddy's Shirt and they will custom make anything for you at no extra charge.

Bright Flowers T-Shirt Skirt (3t)
Two of the skits at the very top and this one above are from Two Girls Threads.
These adorable skirts are made from recycled tee shirts.

Vintage Tea Stained Lace Bloomer 
I almost bought these for a pregnant friend of mine, but decided I should wait until they know for sure if they are having a girl or boy. How sweet are these? from BeeBee Baubles.

3 bags - Reusable Ecofriendly Sandwich Bag Snack Bag and Mini Bag - You Pick the fabric - 18 choices
I ordered an adorable dress from HustleMama and a set of three matryoshka snack packs similar style to the ones pictured just above.

I wanted to buy some of this amazing jewelry from Mermade Designs but I was all out of cash.  Our anniversary IS coming up though...

What do you think? Maybe, I should get myself together and start sewing for someone other than The Cupcake and make us some extra cash next year.  Also, can believe how much talent we've got in Phoenix? I love supporting local and handmade businesses,
if you know of any other's please share them in the comments!!

Wednesday, April 11, 2012

Easter 2012 {a D.I.Y. event}

So, I realize by sharing this NOW, a few days after Easter that you're not going to get any use out of it, but if I may suggest pin {using pinterest} the images you love and then come back next year.  AND I will re link to this post next spring so you can get ideas or how to guides.  With that said, here's how I planned for and spent our Easter...

Project #1 Decoupaged Eggs
I saved eggs from the week before and rinsed them, let them dry and then filled with seeds, so they became shakers, I used water and glue to mod podge ripped recipe pages to the eggs... 
water and glue mixture, just a drop of water!
torn up book pages {Sonja already ripped the book so I was upcycling it}
paint the glue mixture onto the strips and reassemble the egg like 2 puzzle pieces 
then wrap the paper around the egg to bandage it back together, allow to dry completely before adding more strips. 
insert dried seeds if desired and add more strips until the entire egg is covered. 
Or do the same thing but wrap them with leftover tissue paper {did you know tissue paper is not recyclable?}.
This is from my stash of Antropologie tissue paper.
and display in an apothecary jar.

Project #2: Table Cloth.
I really liked this image for a Spring or Easter event and this one too.
I spent a total of $17 on burlap fabric to makes these table cloths and about 4 hours.
I had white scrap fabric I used to create a ruffled edge...
I measured the length and then cut white fabric to fit LONGER than the length so I could ruffle it. 
I hemmed one side of the fabric then faced the pretty sides of both pieces TOWARDS each other and pinned every 6-8 inches so there would be a pleat, once sewn it would have a ruffled edge. 
Pin detail. 
Above is the table cloth half done.

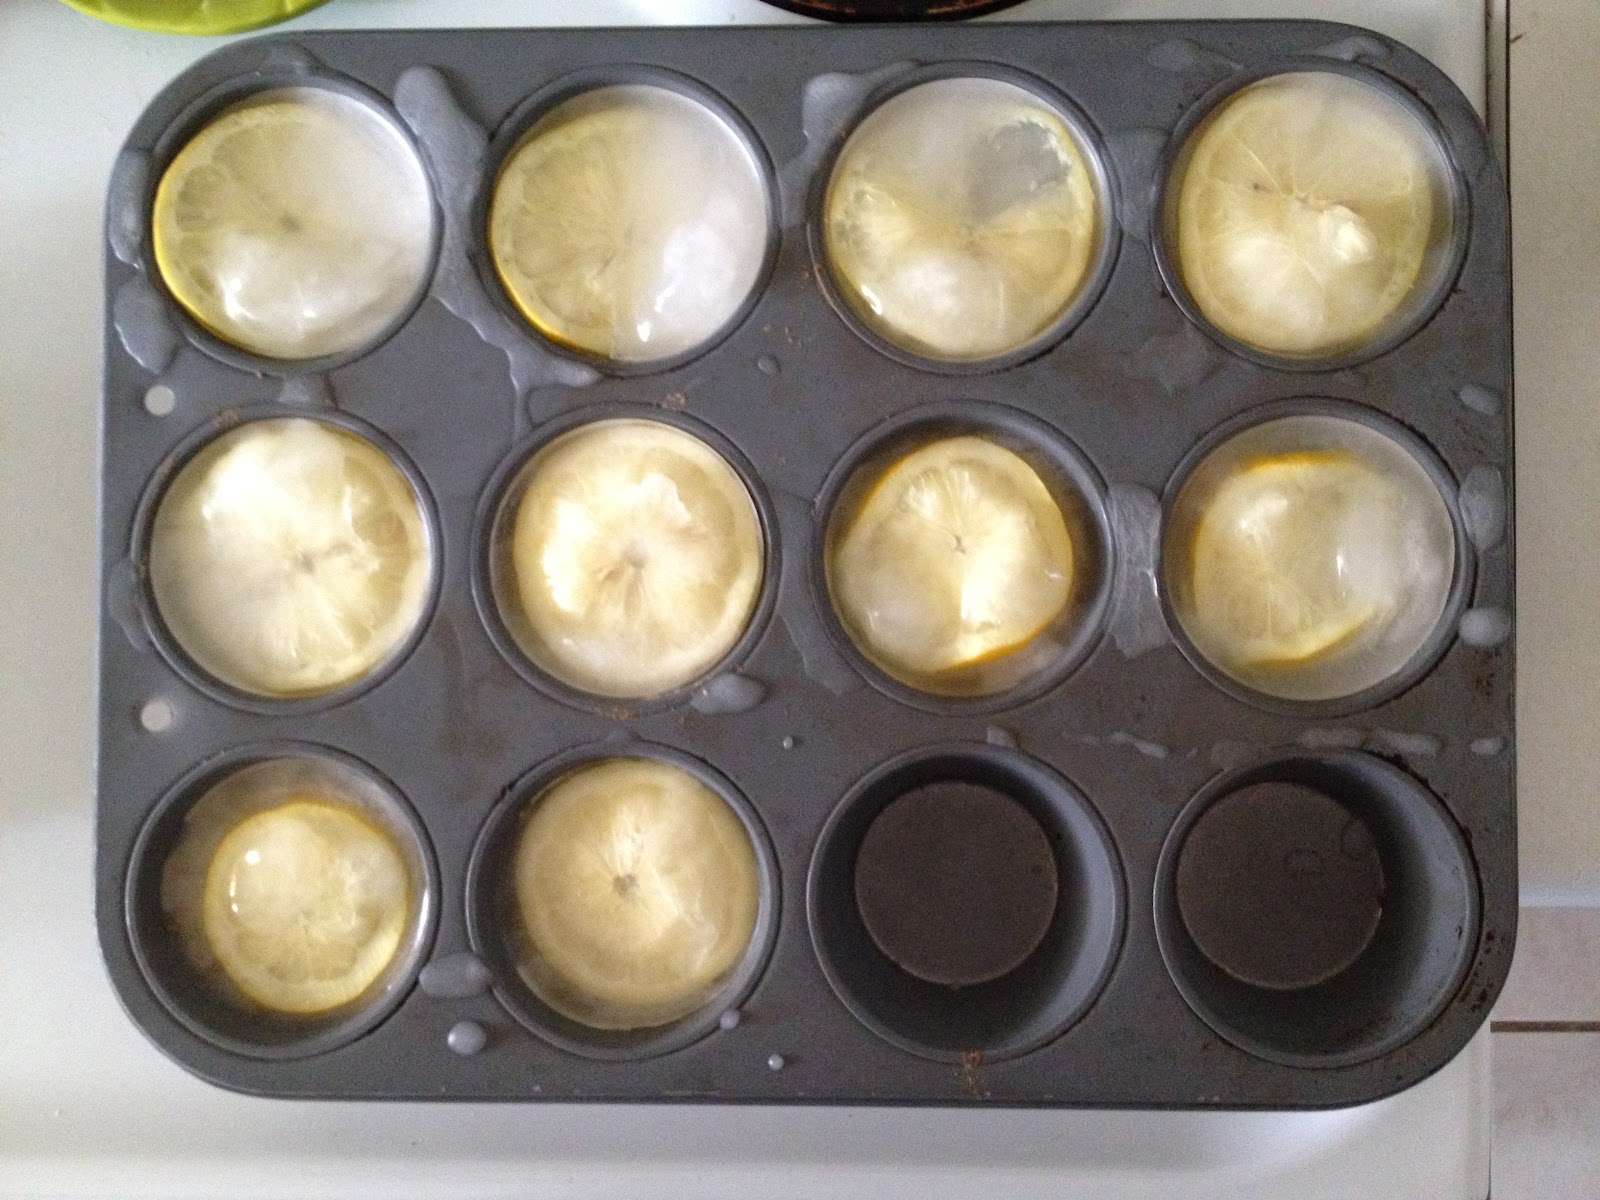
Project #3 Lemon ice cubes
I got this idea from this pin.
slice lemons, add water, freeze.
so easy! 
In the jar for serving pre-water.

Project #4 Table Setting.
I used some vintage tea plates for appetizer plates and wrapped all my silverware with my white cloth napkins and more scraps of that white cloth. 

Project #5 Donuts! 
I used coconut palm sugar instead of that white stuff. 
Finally using my donut pan! 

Project #6 Mini Frittatas
Cooked organic veggies 
Mix with organic eggs, org. shredded cheese and org. cream
I used 24 eggs and it made 36 frittatas 
EVEN THOUGH I BUTTERED THESE PANS, THE EGGS STILL STUCK!
maybe try oil or coconut spray? 
baked at 350* F for about 20 minutes maybe 25 minutes.
I don't think my fridge has ever been this full!

FINALLY, THE BRUNCH! 
My mimosa and Husband's Nonnie 
My "secret" mimosa recipe (this sparkling wine from Trader Joes)
The Appetizers.
Organic Fruit, Cheese, Cantaloupe in Prosciutto {by Emily} Eater Bread {by the Schutsky women} and  Organic Deviled Eggs.
Another hand made table cloth. 
Food detail. 
Brie and Robusto Cheese 
Mimosas! 
Homemade Organic Whipped Cream and Greek Yogurt for fruit.
Detail of the Cantaloupe and Prosciutto {with the mini frittatas in the background}
Then, for the main course we swapped in Roasted Potatoes {by Wayne} Organic Asparagus French Toast {by Husband, Martha's Recipe}, Pasta Salad {by Nonnie}, Ham {by my in-laws} and more Easter Bread. 
Detail of the "Brioche" with the cream sauce.

The Decor...
bunny egg display from Cost Plus, World Market.

The Brunch.
 
Pies from Husband's Uncle Chris, Organic Donuts by me, and Organic Lemon Bars by Emily 
with more Organic Fruit and Fair Trade Costa Rican Coffee.
 Family Photo and below: The Newly Weds!

And THAT was our Easter and I did the whole thing without plastic eggs!
Happy Spring!