
A couple of months ago I started on a new studio and classroom space for myself and the girls. We have a side room addition on our home which has never really been a usable space because it's a long narrow room where nothing fit quite right. Anyway, I totally gutted it and wanted to share what I learned along the way...
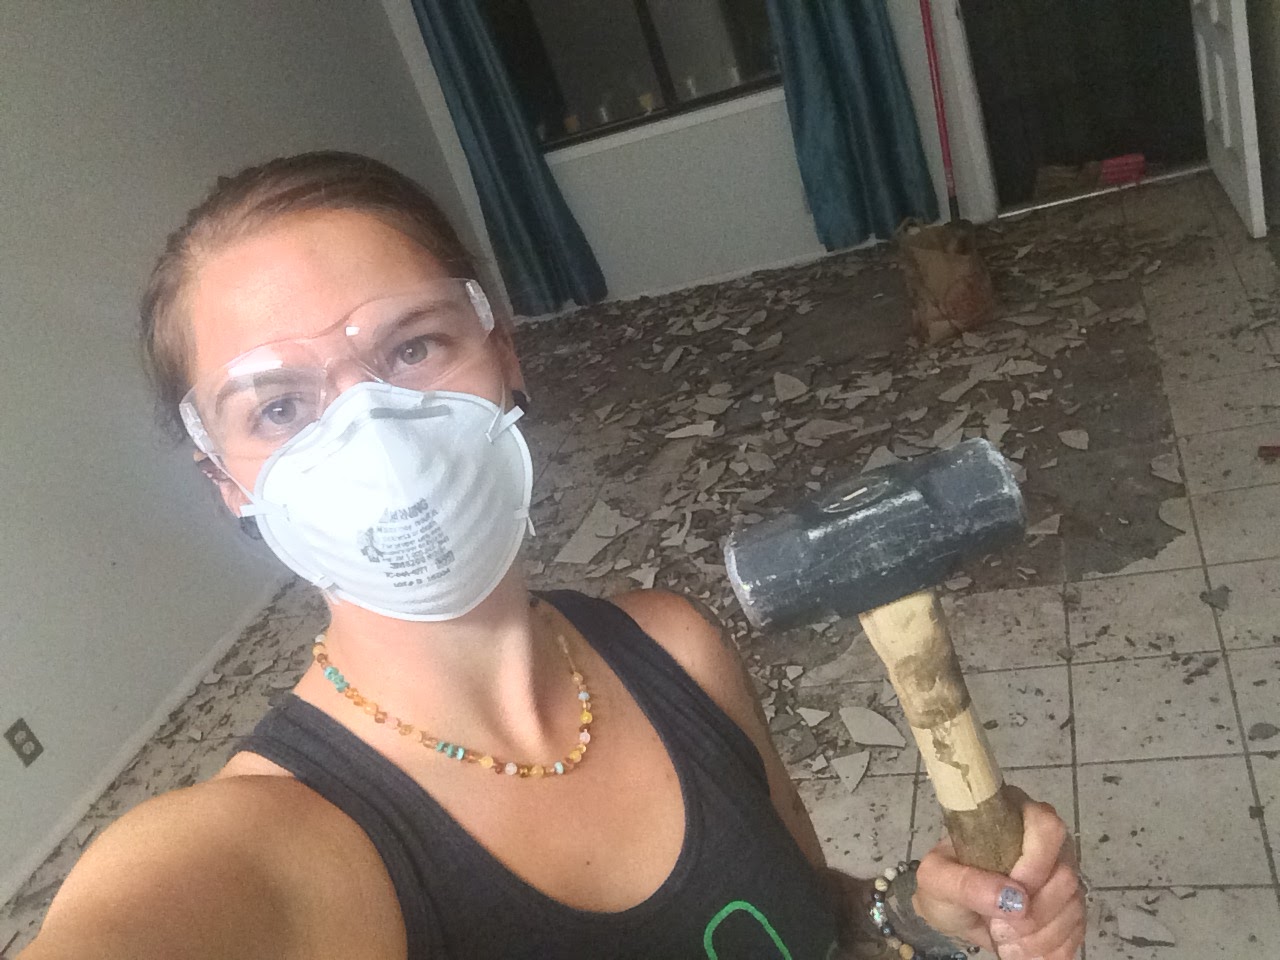
For starters, tile is not fun. We bought the house because it was tile throughout and it was ugly but hey! at least not dirty carpet. We're working on getting all the tile out one room at a time, this was the second full size room to see it go. I used a sledge hammer and with the help of 3 other friends we broke up most of the tile and were able to clear it out in one night.

It took about an hour or so to break up the tile, and a another hour or two to gather it all up and get it out of the house.

Thanks to my brother in law and our friends for helping!

Next up, I rented this grinder from home depot, it was really intense and scary and I'm super proud of myself for doing it without much help from Husband. It was really empowering to do some serious work myself. I think it cost about $200 which was worth it because it really got all the cement and debris up so we could prep the floors. The thing is, the floor has to be wet so I had to bring the hose inside the house and constantly water the cement, not sure how practical that would be if the room were located in the center of my home or not as well enclosed as this space.

After hours and hours of sweeping and grinding, and using a wet vac to pull up the cement water, we finally had a decent base to work with.

So much dust and sweeping.

Next up, acid washing. // I was ready; gloves, check! mask, check! rubber boots, check! eye protection, check!

Got the baking soda at Costco and we used 3 bags to neutralize the acid once it was done. Everything else was from home depot, they were super helpful with advice and finding the right products for the job.

We used a spray bottle like for bug spray and followed the directions for the muriatic acid.

I let Husband do this because I was actually terrified of the acid.

I followed along behind him and after 15 minutes of letting the acid sit, I neutralized it with baking soda.

Again with the hose in the house, we cleaned up the baking soda and acid with the water and shop vac.

We used the flat head attachment to get it up and it took about 2-3 rinses to get all the acid, baking soda and water up.

And finally ready for paint!

I bought this long handled roller at home depot and I thought it was the best thing ever. BUT, I didn't realize the roller on it was actually the worst thing ever, it left tiny pieces of fuzz from the roller on the floor. I wanted to cry. All that hard work and there was fuzz in my paint, because of a $9 roller brush. So, please, if you go through all that work, buy a super fine and low texture roller so this doesn't happen to you.

From a distance it looks fine, but I know under that first layer of oil based paint there is fuzz. I switched rollers halfway though, so it's not really as bad as it seemed but, at least you won't make the same mistake as me.
For the paint, I used an oil based paint that is deigned for garage floors. It's holding up better than a latex based paint would have and I didn't have to use epoxy. Epoxy would have been really challenging since it has to set for days and has such volatile fumes.

I was able to start moving in items after 24 hours, probably should have waited 48 to really make sure the paint was set. But I needed to get my shelves in from outside, so I started setting up a bit earlier than I would recommend.

I had to wash down all the walls, and as you can see I took my time getting to the door. I spent hours on hands and knees scrubbing walls as I moved everything in.

It's so rewarding to have a space for all my fabric, crafts and art supplies.

I'm still in the process of decluttering items I'm not using and organizing it to be exactly what I want, but it's a good start.

Since this photo I've added my work table, a giant vintage world map, lots of apparel products and totally filled the space, I'm working on thinning out my supplies so I can keep it minimalist, but also considering rearranging my whole house. Maybe I'll make this well lit room my master bedroom and move my studio yet again. It's a super functional space now, but ideally I'd like to have a studio space outside of my home to function as my warehouse. So my inventory isn't cluttering up my home and creative space for my kids. I thought creating a space for me to work and the kids to craft would be ideal, but they just keep getting all their supplies out and leaving them in my work space, so I've accepted sharing a space with kids isn't realistic for my needs.
How do you keep your creative spaces clean and organized? What do you do for your kids creative spaces?


No comments:
Post a Comment